
Feeling awkward on camera is something most people experience.You might think, “I’m not a model—I just don’t photograph well.” But more often than not, the issue isn’t how you look—it’s how you’re being photographed.
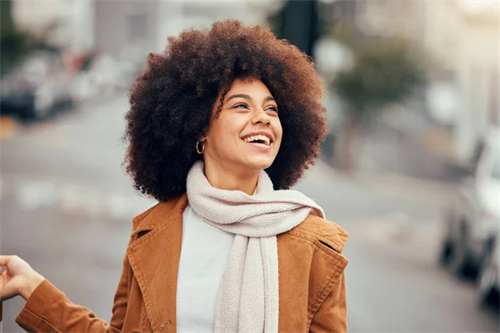
Part 1: Portraits That Feel Natural (No More Stiff Smiles!)
1. Ditch the “Camera Stare”—Pretend You’re Busy
Try these small, unscripted actions:
Tuck a strand of hair behind your ear.
Glance down at a coffee cup or phone (no need to actually use it—just pretend).
Walk slowly toward the camera, then pause mid-step.
Lightly touch a nearby branch or wall with your hand.
These “micro-actions” trick your brain into relaxing, and the result feels like a candid snapshot (not a posed photo). Even if you’re terrible at “posing,” this hack alone will make your portraits 10x more natural.
2. Master the Rule of Thirds (Instantly Slimmer, More Balanced Shots)
Photographers often rely on the “Rule of Thirds” to create balanced, purposeful images. Here’s how it works:
Imagine dividing your screen into a 3x3 grid (most phones/cameras let you turn this grid on in settings). Rather than positioning your subject in the exact center, align their eyes in close-ups—or their body in full-body shots—along one of the grid lines.
For full-body portraits, this trick also slims and lengthens:
Position their feet along the bottom grid line (so their toes touch the edge of the frame).
Leave a little “white space” above their head (don’t cut off the top of their hair!).
This simple shift adds depth to your photo and makes your subject look more proportional—no editing needed.
3. Stand Like You’re Not “Posing” (The Anti-Stiffness Guide)
Most people freeze up when they stand for photos: legs straight, arms at their sides, like a statue. The fix is tiny adjustments that look effortless:
Bend one knee a little to create a natural curve in your legs.
Turn your body 30 degrees away from the camera (this slims your torso and adds dimension).
Rest one hand lightly on your hip, or let it hang loosely by your side (avoid clenching your fists!).
Try a “crossed leg” stance: cross one foot in front of the other, weight on your back leg.
These poses work for everyone—men, women, kids—and they never look over-the-top. ou want to look effortless, like you’re just there in the moment rather than performing.
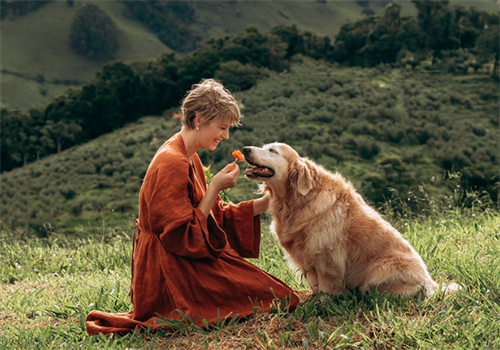
4. Use Props to Beat “What Do I Do With My Hands?” Panic
Hands are the biggest source of awkwardness in portraits. If you or your subject doesn’t know where to put them, grab a simple prop. It doesn’t have to be fancy—everyday items work best:
-A coffee mug: Hold it like you’re about to take a sip, or rest it on a table.
-A book: Flip through the pages, or hold it against your chest.
-A hat: Tilt it slightly, or adjust the brim with one hand.
-A flower: Smell it gently, or hold it near your face (not covering your eyes!).
Props not only occupy your hands but also help tell a story within the image.For example, a coffee mug suggests a casual morning, while a book feels cozy and intellectual. Bonus: They help take your mind off your smile so it looks more natural.
Part 2: Turn Ordinary Places Into Photo-Worthy Spots
1. Stairwells + Flash = High-Fashion Magic
Stairwells are one of the most underrated photo spots—they have clean lines, natural depth, and neutral backgrounds. Pair them with your phone’s flash (yes, phone flash) for that “cold white skin” and edgy vibe you see in magazines. Try these poses:
-Lean against the railing: Rest your forearms on the metal, tilt your head, and look up at the camera. The flash will make the railing shine, adding texture.
-Position yourself sideways to the wall: Lift one arm above your head with a bent elbow and gently press your shoulder against the wall.This stretches your torso and creates a sleek S-shape.
-Lie on the steps (safely!): Lie on your back, let your hair hang over the edge of the step, and look up at the camera. The flash will eliminate harsh shadows, making your skin look smooth.
2. Low Angles: Make Small Things Feel Epic
Most people take photos from eye level—and that’s why they look flat. Try getting down low (kneel, sit, or even lie on the ground) to shoot. This angle:
Gives flowers, puddles, and street art a bold, larger-than-life presence.
Turns a ordinary sidewalk into a leading line that draws the eye.
Makes people look taller (great for full-body shots in small spaces!).
Example: Next time you see a puddle after rain, kneel down and shoot the reflection of a tree or building in the water. The low angle will make the reflection look like a “mirror world”—way more interesting than a regular photo of the tree.
3. Use Backlight for That “Glowing” Effect
In portrait photography, have your subject face the sun or an indoor light to ensure they’re well-lit.Make sure their face is turned slightly away from the light—this avoids squinting. If their face looks too dark, use your phone’s “fill flash” (it’s usually a small icon of a flash with an arrow) to brighten it.
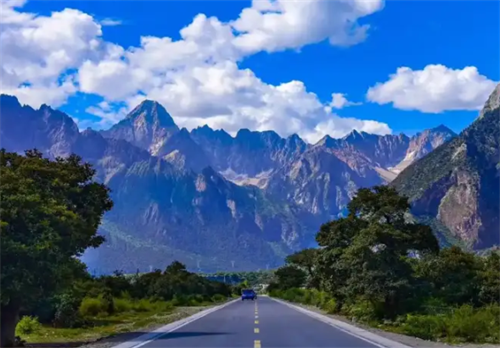
For landscapes, frame the sun behind natural or man-made features like trees, mountains, or structures. Then, use the grid to place the horizon along the upper or lower line to keep the shot visually balanced.
For small objects: Place a flower or a cup in front of a window. The backlight will make the petals or glass glow, highlighting details you’d miss in regular light.
4. Macro: Discover Beauty in the Tiny Things
-Snowflakes: In winter, catch a snowflake on a dark glove and shoot it—you’ll see the intricate, six-pointed patterns.
-Flower petals: Zoom in on the texture of a rose or daisy—you’ll notice veins and soft fuzz you never saw before.
Part 3: Travel Photography Hacks (Avoid Crowds, Get Pro Shots)
1. Shoot During Golden Hour (Avoid Crowds + Great Light)
Photographers call the first hour after sunrise and the last hour before sunset the golden hour.During this time, the light is soft, warm, and flattering—perfect for capturing landscapes, portraits, and details. On top of that, early in the morning most tourists are still in bed, and in the evening many are dining, giving you cleaner, less crowded shots.
-For city shots: Shoot a famous landmark (like a temple or monument) during golden hour. The light will make the building glow, and there will be fewer people in the frame.
-For beach shots: Take portraits with the sun behind the ocean. The light will turn the water orange, and your subject will have a soft, golden glow.
Pro tip: Check a weather app for sunrise/sunset times, and arrive 15 minutes early—you’ll want time to set up.
2. Use Angles to Hide Crowds
You don’t need to wait for a crowd to leave—just change your angle:
-Shoot up: Tilt your camera toward the sky. This works for tall buildings (like skyscrapers or cathedrals)—the crowd below will be out of the frame.
-Shoot down: Stand on a bench, staircase, or hill and shoot downward. This is great for busy squares or markets—you’ll capture the energy of the crowd without individual people blocking your subject.
-Shoot close: Take a close-up of a detail (like a door, a sign, or a local’s handcraft) instead of the whole scene.
3. Use Leading Lines to Guide the Eye
-In a city: Shoot along a street that leads to a landmark (like a fountain or statue). The street’s lines will pull the eye toward the landmark, making the photo feel intentional.
-In nature: Shoot along a trail that leads to a lake or mountain. The trail’s lines will make the viewer feel like they’re walking into the scene.
Leading lines also help hide crowds—if the line is narrow (like a sidewalk), the crowd will be on the sides, not in the center of your frame.
4. Be Patient (The Best Shots Take Time)
At times, the best way to get a crowd-free photo is to wait it out.Watch the crowd for a minute—you’ll notice gaps (when a group walks away, or someone steps aside). Keep your camera ready (set the focus beforehand!) and snap the photo when the gap appears.
This works for busy spots like museums, temples, or popular viewpoints. It might take 5-10 minutes, but the result—a photo that looks like you had the place to yourself—is worth it.

Part 4: The #1 Tip That Beats All Others
No matter how many techniques you learn, there’s one thing that will improve your photos more than anything else: take more photos. Pros don’t get perfect shots on the first try—they take 50 photos to get 1 great one.
If you’re shooting a portrait, try 3 different angles (high, low, eye level) and 5 different poses.
If you’re shooting a landscape, take photos at different times of day (morning, afternoon, golden hour) to see how the light changes.
Don’t delete photos right away—what looks “bad” on your camera screen might look great when you zoom in or edit it later.
Recommend:
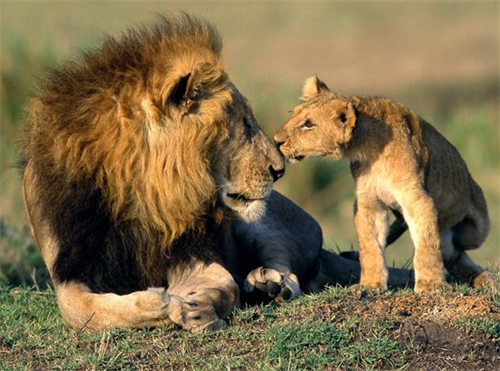
Mastering Animal Photography: Capture Stunning Moments of Wildlife

How to Get Cheap Flights? When is the Best Time to Buy?
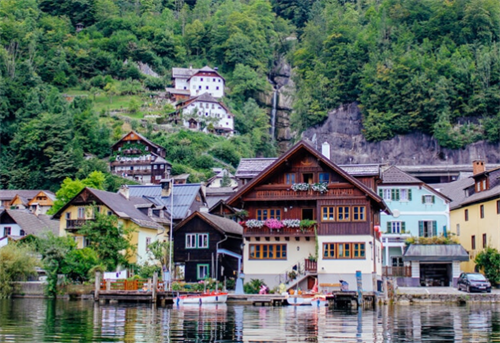
Touring Through European Fairy Tale Towns: Exploring the Scenery in Postcards
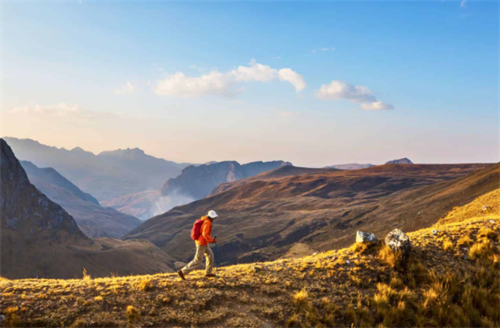
World-Class Hiking Routes for Beginners to Professionals